The best bread is baked fresh at home and this recipe gives a good loaf in just a few hours.
Good bread is a wonderful thing. At its simplest bread is only wheat flour, water, salt and a leavener, either commercial yeast or sourdough starter. Making bread provides a great opportunity to get other kitchen tasks done between steps and baking bread fills a kitchen with wonderful odors. I make all of my breads with at least 50% whole wheat flour to fit in with the rest of my healthy whole food diet. Adding a variety of nuts and/or seeds to the dough boosts the nutrition of the finished loaf.
This Basic “Quick” Bread Recipe uses commercial yeast, organic unbleached bread flour, organic whole wheat bread flour, sea salt, black pepper, olive oil, molasses and honey. At room temperature, this recipe usually takes me 3-4 hours total time from gathering ingredients to taking the finished loaf out of the oven. The small amount of sweetener in this bread improves both color and flavor and also decreases the rise times.
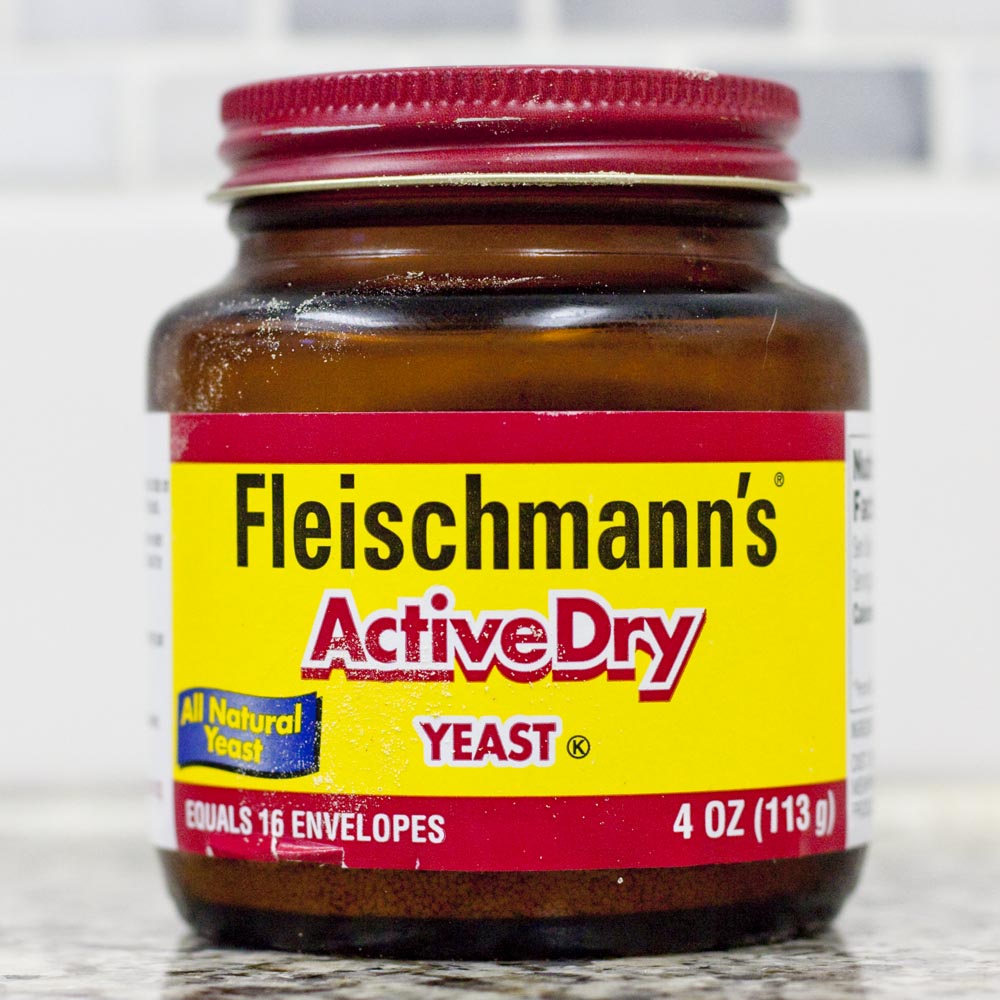
Commercial active dry yeast provides the “rise” for most common breads by producing carbon dioxide gas and other byproducts as it digests the starches and sugars in the dough.
1. Dissolving The Yeast
Start this recipe by placing 1 1/2 cups of warm water(100-105 degrees) into a 2-quart or larger mixing bowl. Sprinkle 1 tablespoon of dry active yeast over the water and allow to sit for 5 minutes. Stir the yeast into the water until there are no clumps.
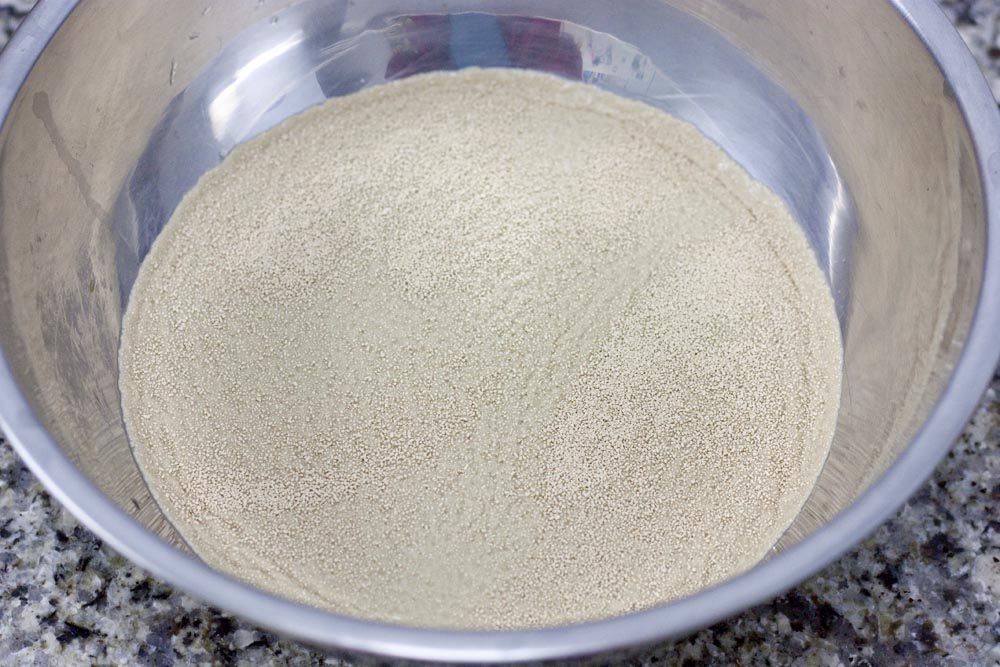
Yeast floating on the warm water.
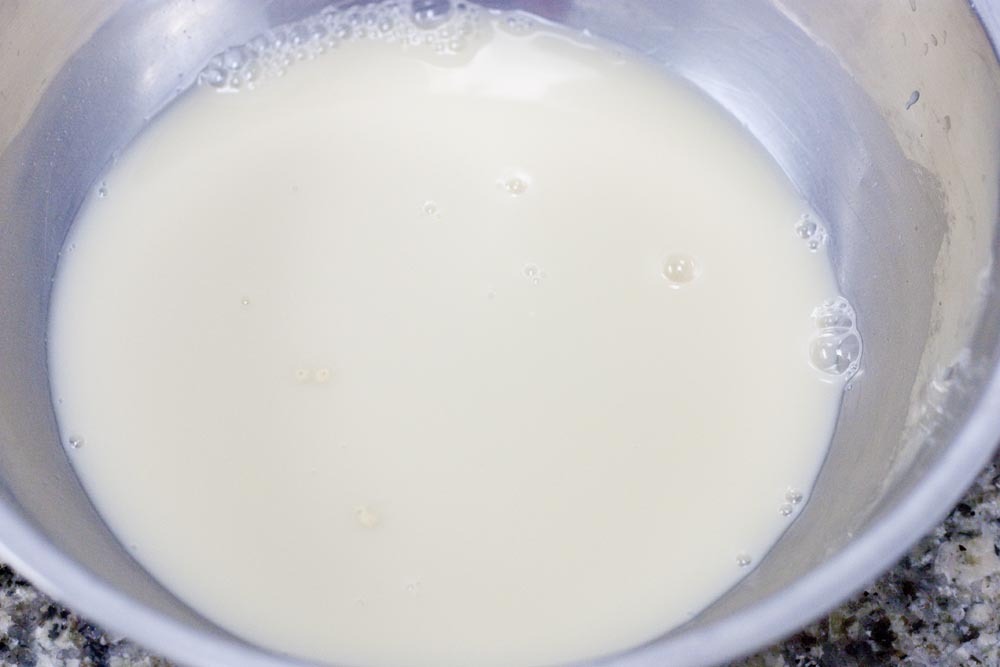
Yeast dissolved in the warm water.
2. Making The “Sponge”
The “sponge” is the first step in most bread recipes. It is a loose and pourable water/yeast/flour mix that activates the yeast and provides a base for the final loaf. I always get better results using the same flour ratio(white:whole wheat) as the finished loaf will have.
Add to the dissolved yeast 3/4 cup white bread flour and 3/4 cup whole wheat bread flour. Mix the flours in 1/2 cup at a time(1/4 cup of each type). After the final addition, beat and mix thoroughly for at least 5 minutes to eliminate all dry flour clumps and start developing gluten in the dough.
It is important to use bread flour. Bread flour has a higher gluten content than other types of flour. It is the gluten that allows the dough to capture the gases given off by the yeast, rising the dough and producing all the little cavities characteristic of bread. Gluten also give bread the springy, slightly stretchy mouth-feel expected of bread.
Cover the sponge loosely with plastic wrap or a moist kitchen towel to protect it from drafts. Allow it to rise and get bubbly(spongy) until it has doubled in size.
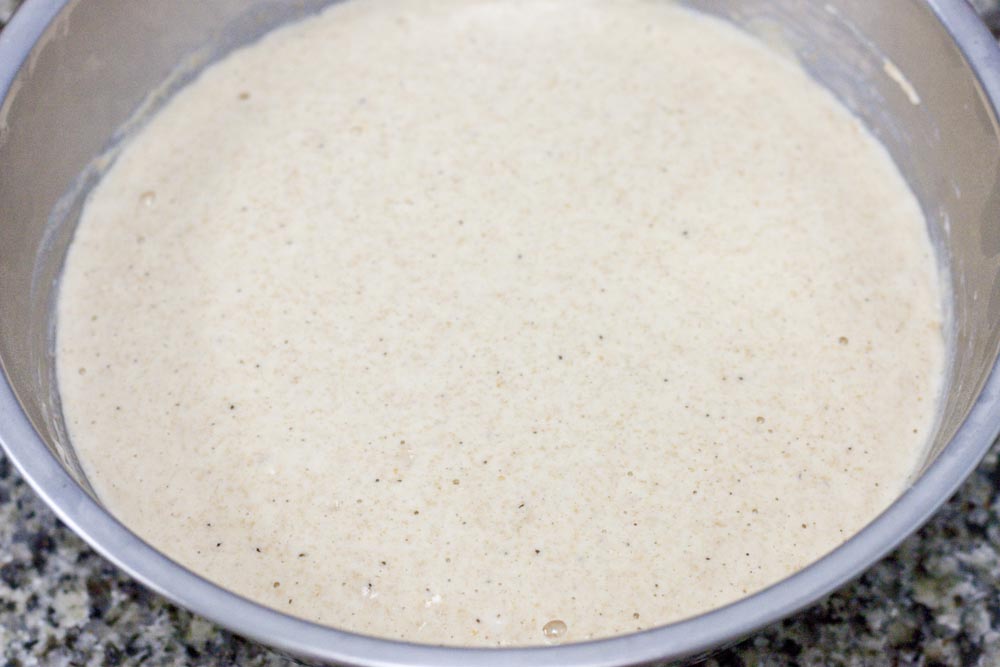
This sponge is risen and ready to make the “bulk” dough
3. Make The “Bulk” Dough
Add to the fully risen sponge: 1 tablespoon sea salt, 1/4 teaspoon freshly ground black pepper, 1 tablespoon olive oil, 1 teaspoon molasses and 1 teaspoon honey. Add 1/2 cup plus 2 tablespoons white bread flour and 1/2 cup plus 2 tablespoons whole wheat bread flour, 1/4 cup at a time. Mix and beat in each addition well before adding the next. After all of the flour has been added, continue to beat the dough until it becomes stretchy and starts to pull away from the bowl with each stroke.
Cover the “bulk” dough the same as the “sponge” to protect from drafts and allow to rise until doubled in size.
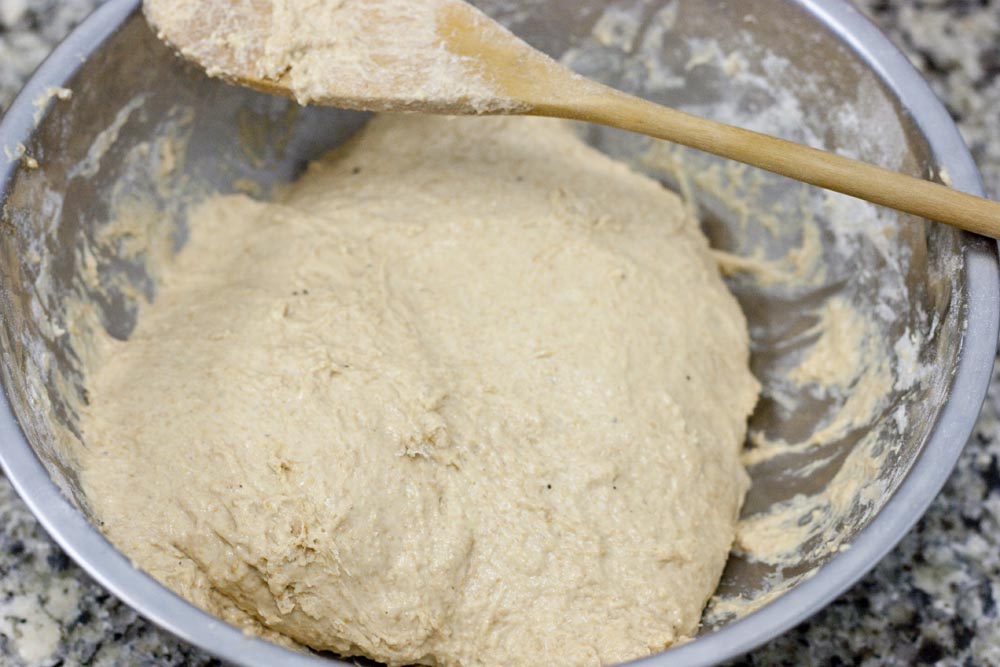
The “bulk” dough ready to be covered and start rising
4. Form The Loaf
When the “bulk” dough has doubled in size, remove the cover. Sprinkle the dough with flour and work the dough around the edges of the bowl, adding small amounts of additional flour as needed, until the dough can be cleanly turned out of the bowl onto a floured surface. With well floured hands, work the dough from the top into the center of the bottom of the ball of dough. Roll in flour as needed to prevent dough sticking to hands. The dough will continue to get stretchier and less sticky as it is worked and takes in additional flour. Continue this process until the dough can be worked for 1 1/2-2 minutes without needing more flour. Shape the dough into the approximate shape of the final loaf and place into a bread pan or rising basket for the final rise. Allow the dough to double in size once more.
When using a bread pan, I like to grease the pan with coconut oil on a paper towel, then coat the oil with flour to prevent sticking to the pan during final rising and baking. If not using a bread pan, line a bowl or basket in the desired shape of the loaf with a clean, dry kitchen towel well sprinkled with flour to prevent sticking. Try to work some of the flour into the material of the towel before adding the dough. When risen, the dough should roll cleanly out of the towel onto the baking sheet.
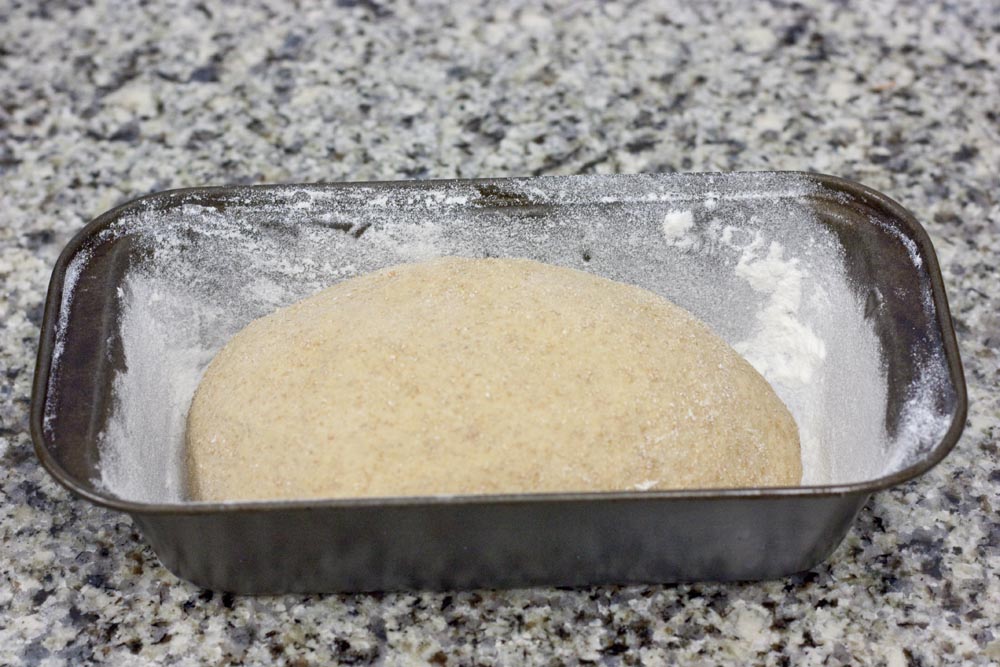
Dough ready for final rising in a greased and floured bread pan.
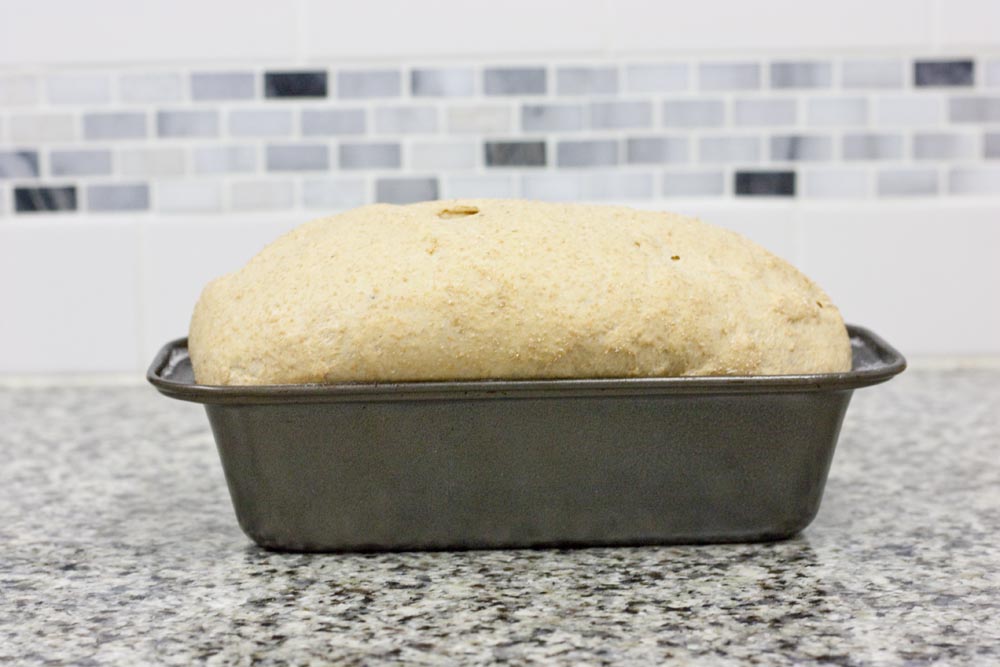
This loaf is fully risen and ready for the oven.
5. Bake The Bread
When the loaf has doubled in size, it is ready to bake. Preheat the oven to 425 degrees. It is traditional to make one or more decorative slashes across the top of the loaf before placing in the oven.
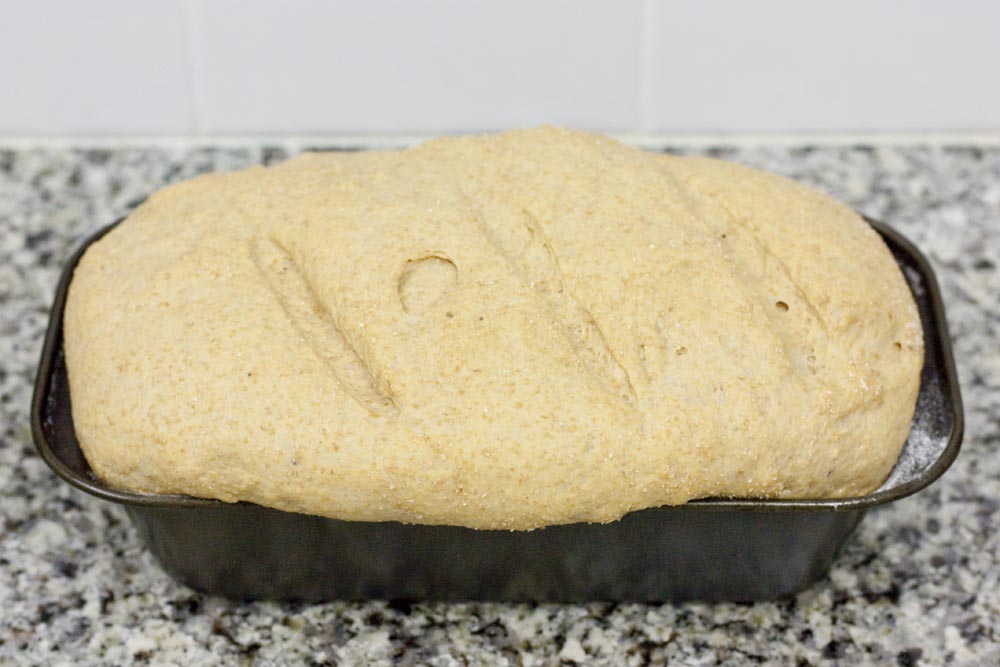
Loaf with slashed top ready for the oven.
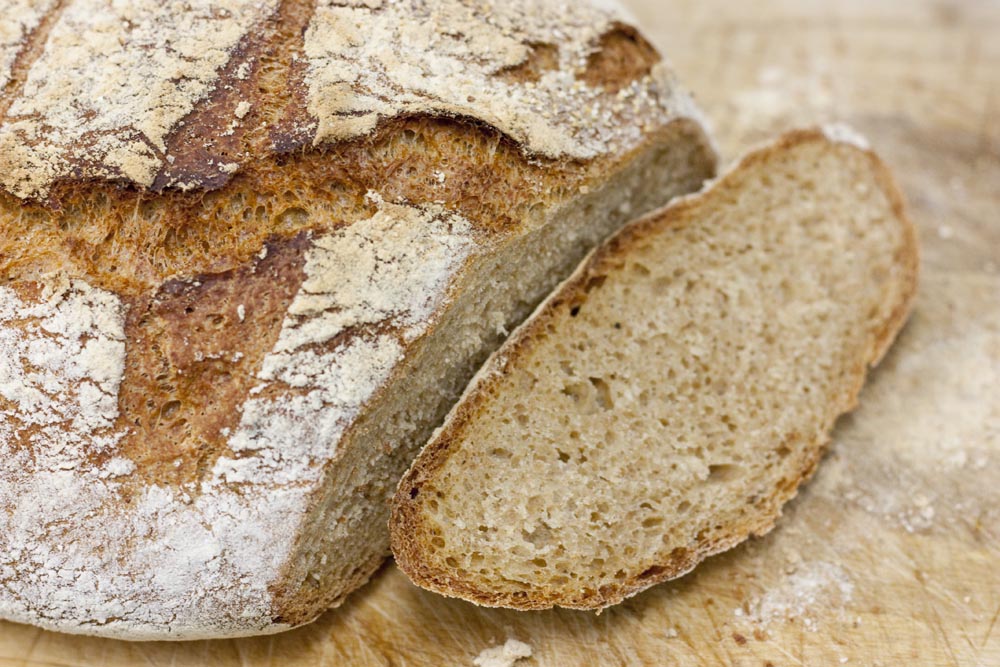
For a pan loaf: place the pan directly into the oven for 20-25 minutes for a standard sized one-pound loaf. Mini-loaf pans may require a shorter baking time. Check if the loaf is done by thumping the crust with a fingernail. The crust should be crisp and the loaf should feel and sound slightly hollow, like thumping a drum. Remove from the pan immediately and place on a wire rack to cool for at least one hour before cutting.
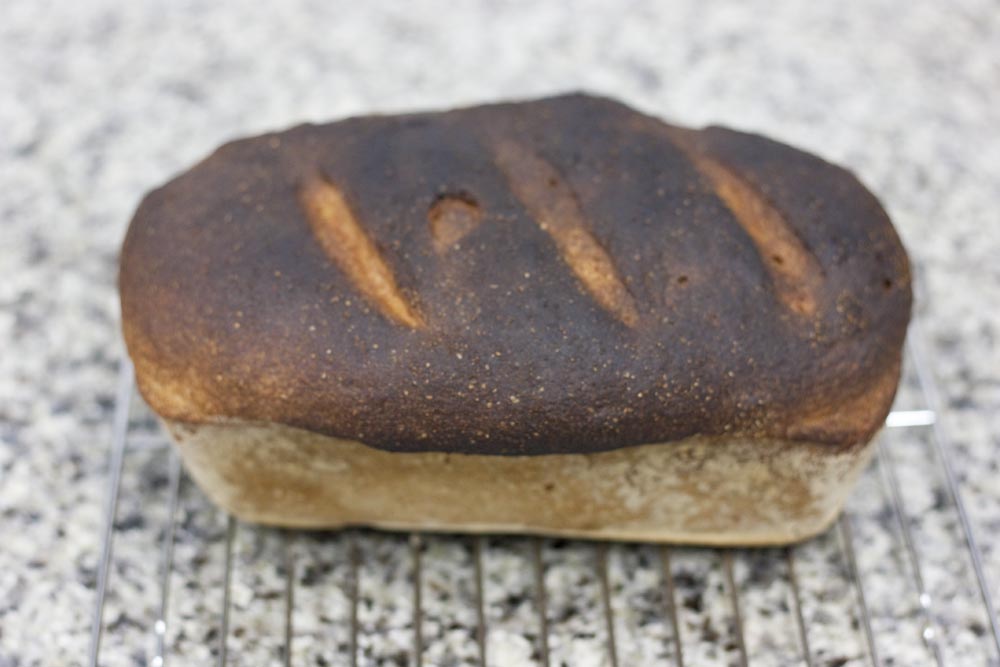
Finished pan loaf cooling on a wire rack
For a free-form loaf: Place a Dutch oven or covered casserole into the oven and preheat to 450 degrees. When the loaf is ready to bake, remove the casserole from the oven, remove the lid and sprinkle the bottom generously with coarse corn meal. Lift the loaf out of its shaping basket or bowl by the corners of the lining towel. Drop two towel corners to allow the dough to “roll” off the towel and into the casserole. Adjust the position of the dough if necessary to keep the “bottom” down. Replace the lid and place into the oven for 20-25 minutes. Remove the lid and bake an additional 10-15 minutes until done. Remove the loaf to a wire cooling rack immediately for at least one hour before cutting.
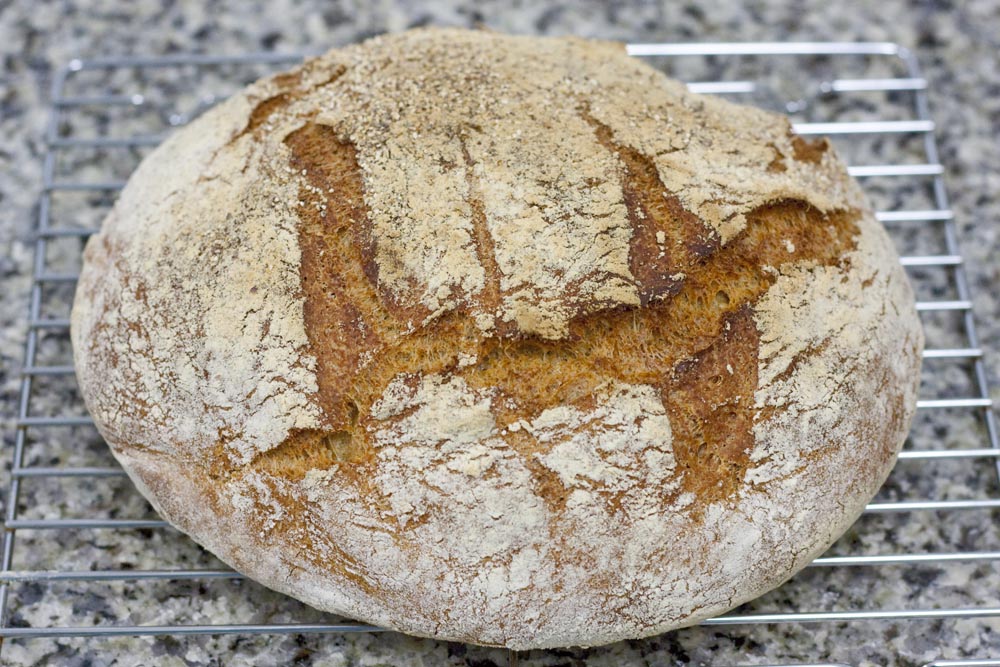
Free-form loaf, baked in a covered casserole and cooling of a wire rack
Baking in a pan in an open oven will result in a loaf with a fairly soft crust, suitable for sandwiches, french toast and other uses where commercial loaf bread would be used. free-form loaves baked in a covered Dutch oven or casserole will develop a much more robust crust thanks to the captured steam while baking. This creates a more rustic or artisan style of bread that I prefer to accompany cheeses, fruit, etc… The heavier crust also extends the usable shelf life of free-form loaves.