Fresh and delicious Indian paneer cheese can be easily made at home in about two hours.
Cheese can be part of a healthy whole food diet as long as it is made with grass-fed milk or cream. The best way to assure this is to make the cheese at home from known milk. Milk and cheese from grain-fed cows will have skewed and unhealthy omega-3/omega-6 fatty acid ratios, fewer vitamins A and B and fewer non-vitamin anti-oxidant compounds.
Indian paneer is the simplest cheese and the easiest to make, having only two ingredients: whole milk and lemon juice. The simplest and easiest seemed like the logical place to start my exploration of cheese making at home. Another plus to making this cheese first is that it takes just over two hours from start to finished cheese. The batch size is also small, so mistakes are not costly.
Paneer is a simple acidified cheese and is not cultured. It has a very mild flavor and readily absorbs flavors from other foods. The texture and mouth-feel of paneer is similar to firm tofu.
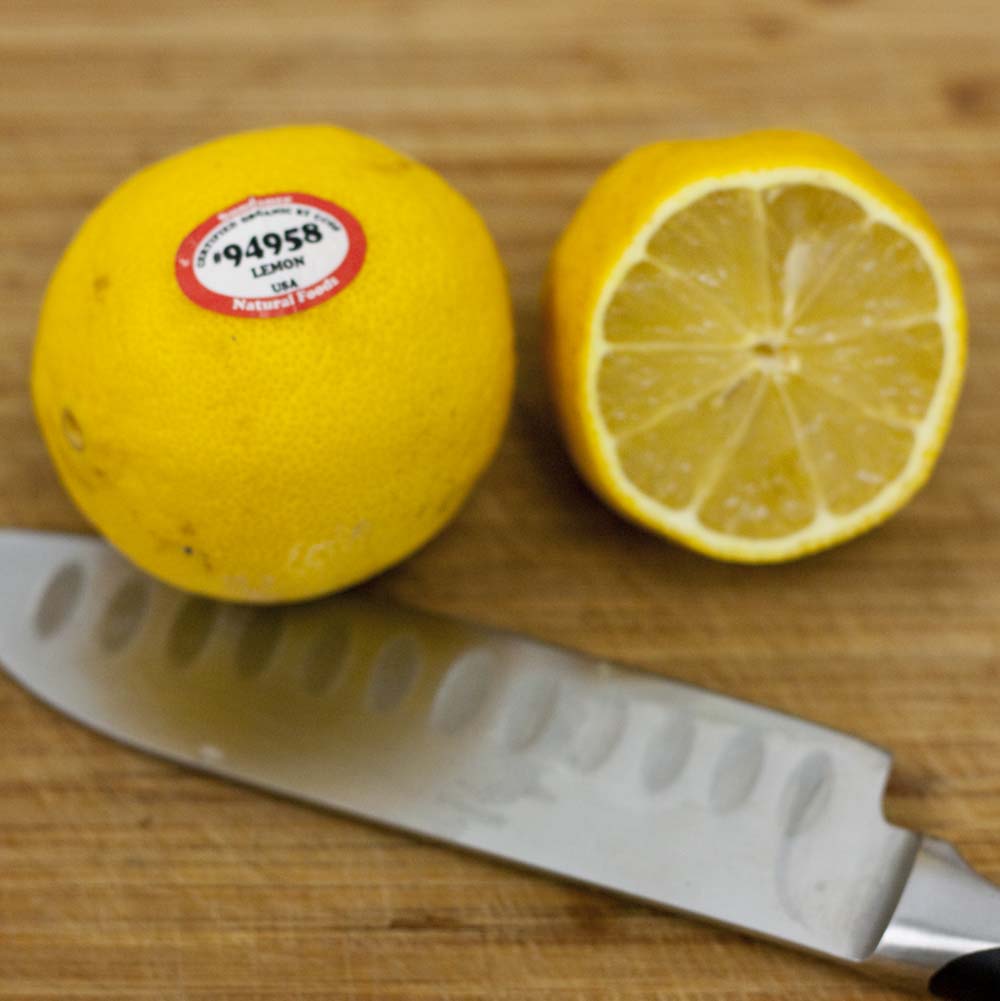
Organic lemon juice supplies the acid needed to curdle the milk for Indian paneer cheese.
There are only two ingredients needed for this recipe: 1/2 gallon of whole milk(cannot be ultra-pasteurized or ultra-homogenized) and 1/4 cup of fresh lemon juice. I used grass-fed, non-homogenized organic milk and juice from organic lemons.
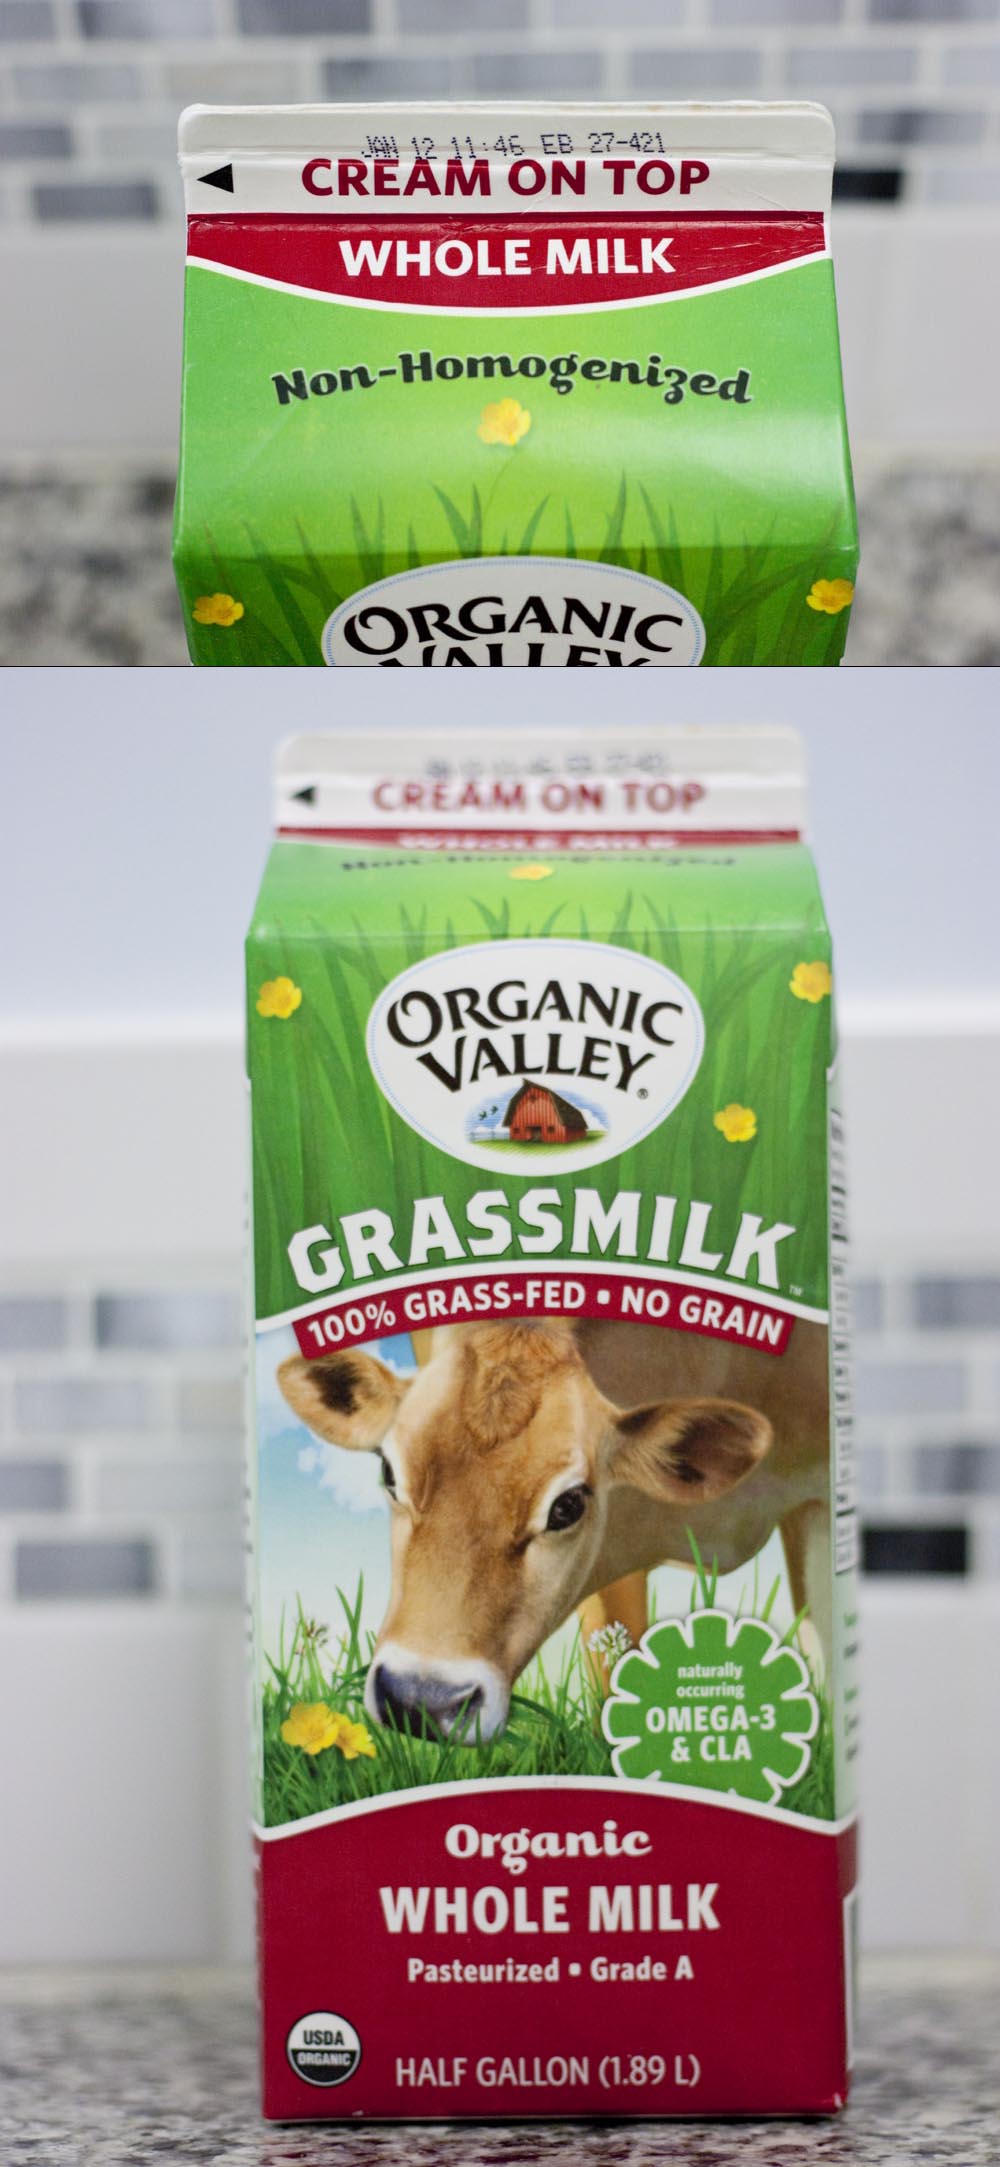
Grass-fed, non-homogenized organic milk for making Indian paneer cheese.
Making the cheese is an easy process.
Start by cleaning and sanitizing a 5-6 quart pan, a large kitchen spoon, a cup measure, a small strainer, a colander and a piece of fine cheesecloth about twice as large as the colander.
Place the milk in the pot over low-medium heat and bring to a boil. Stir the milk often with up-and-down stroked to prevent scorching on the bottom of the pot. Remove the pot from the heat when a boil is reached.
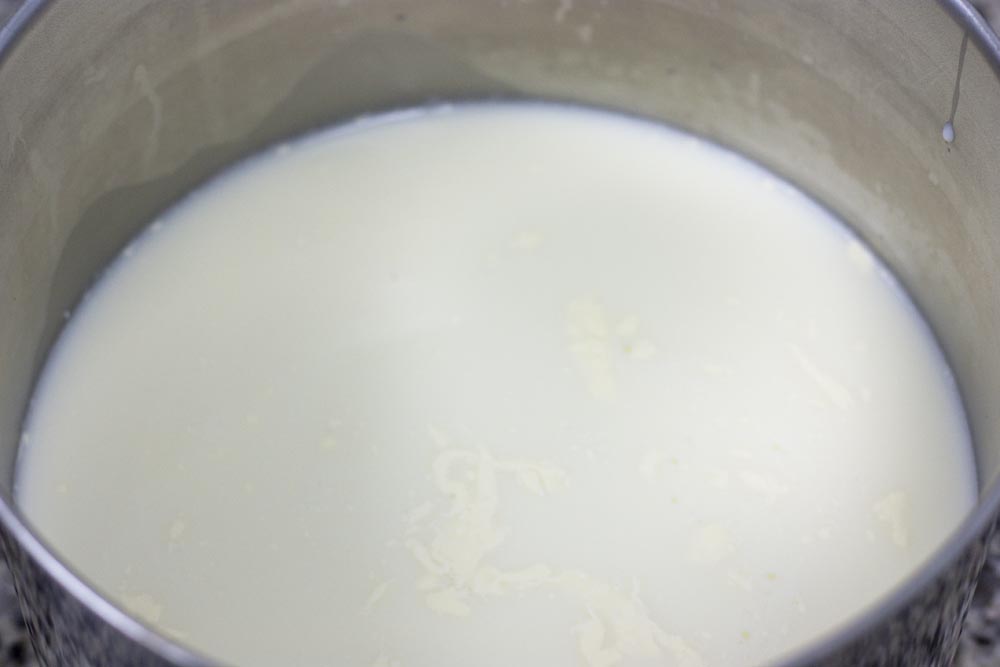
Bringing the milk slowly to a boil before adding the acid.
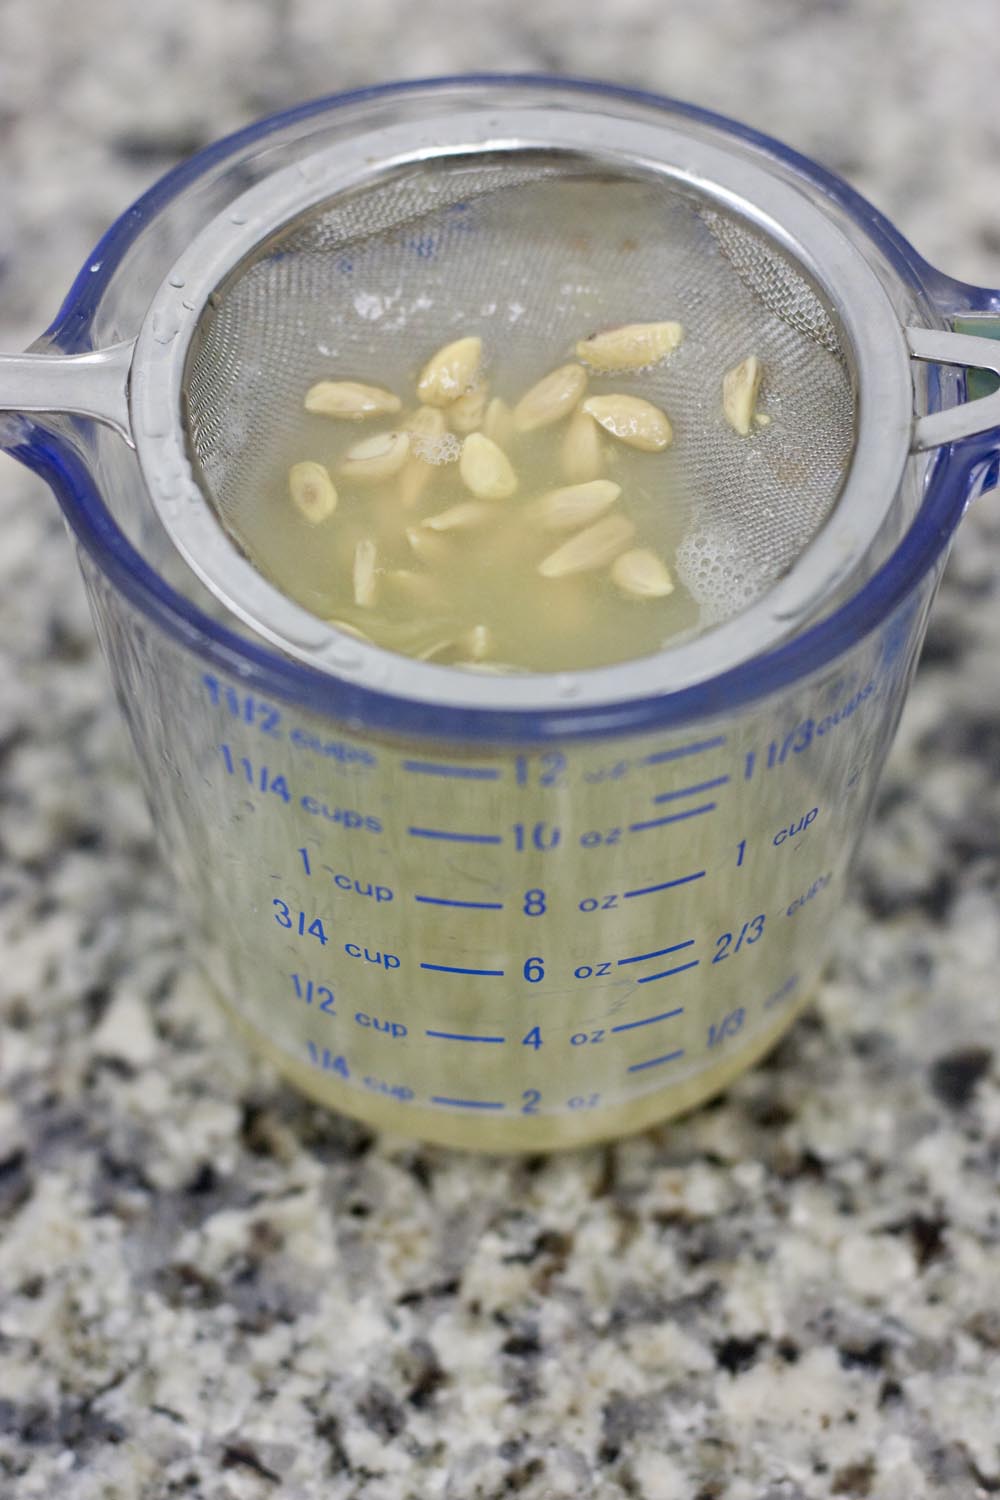
Add the lemon juice, 1-2 tablespoons at a time, while stirring slowly with up-and-down strokes. You will see the milk start to curdle and separate into cuds and whey. When all of the lemon juice has been stirred in, let the pot stand for 5-10 minutes. The curds will continue to form and start settling to the bottom of the pot.
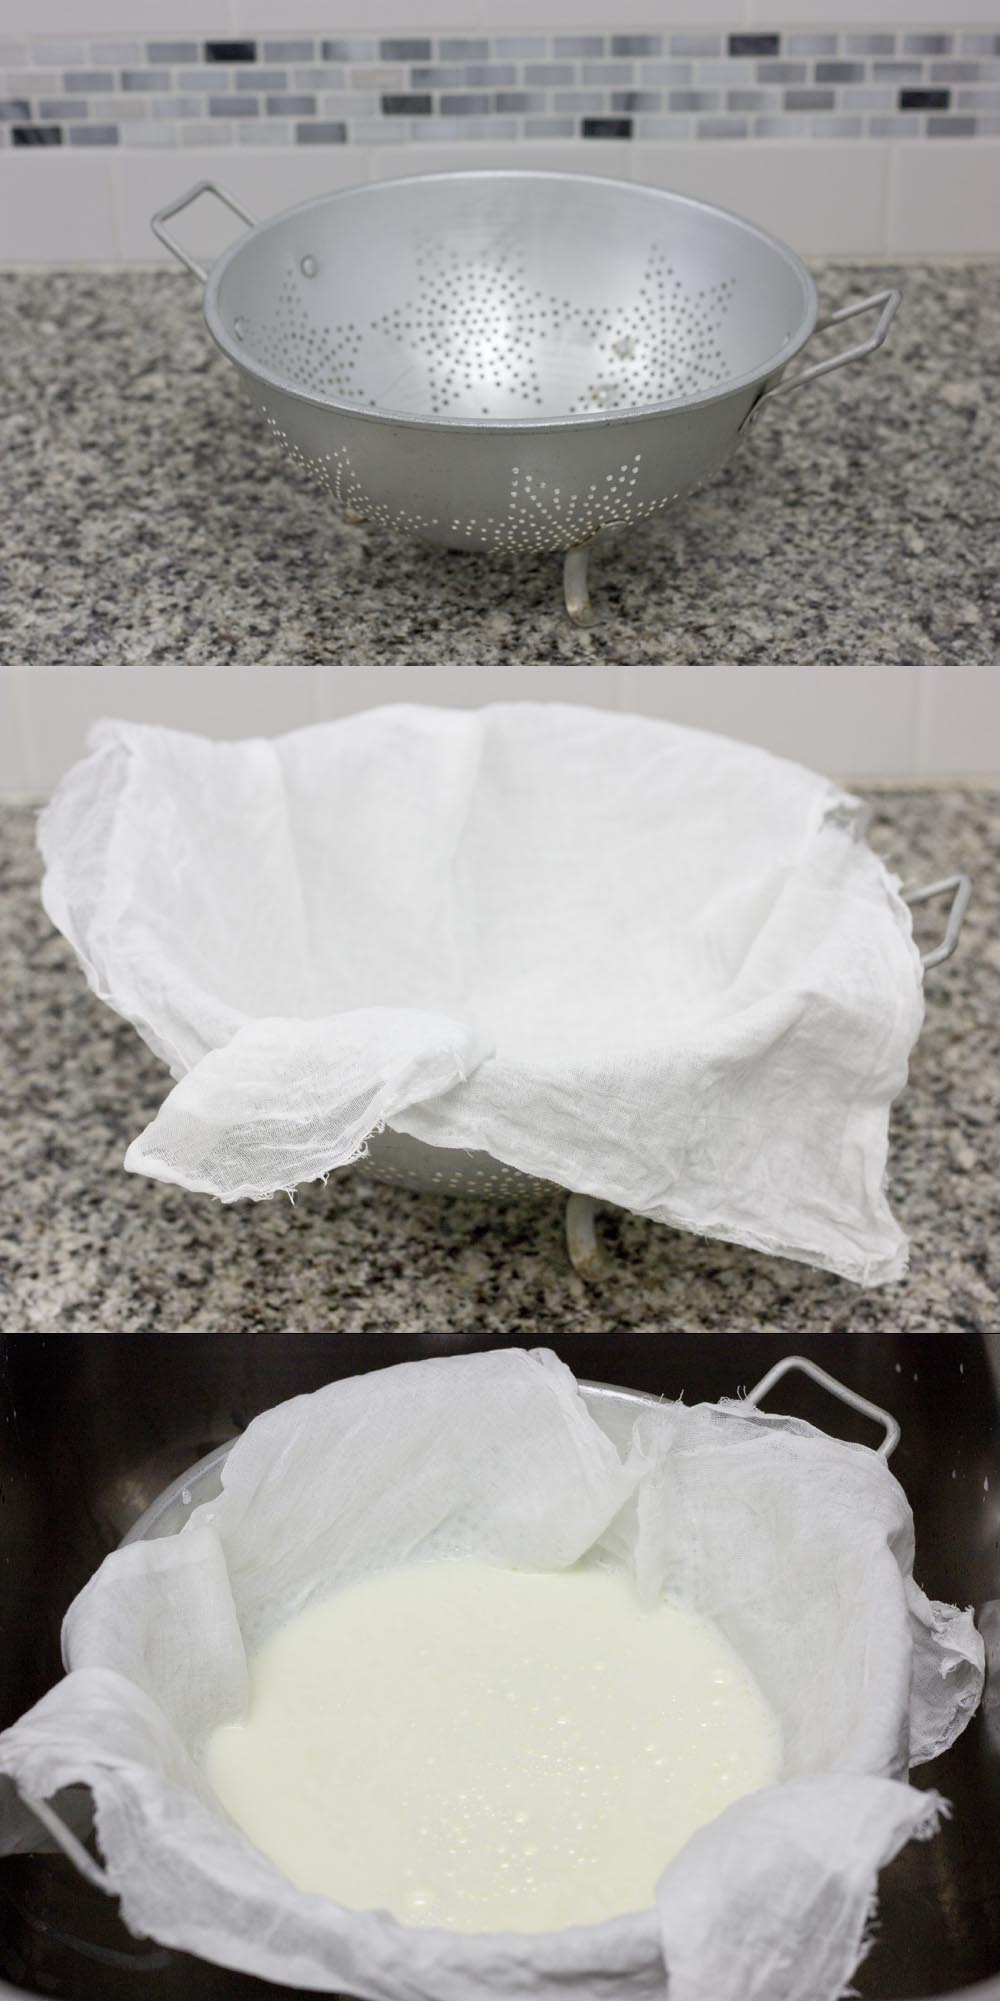
A colander is lined with fine cheesecloth to drain the whey from the curds.
Pour the curds gently into the cheesecloth-lined colander and allow to drain until all visible whey is gone. Pull up the corners of the cheesecloth and tie together to form a bag holding the curds. Hang the curds over a pot to drain for another 30 minutes.
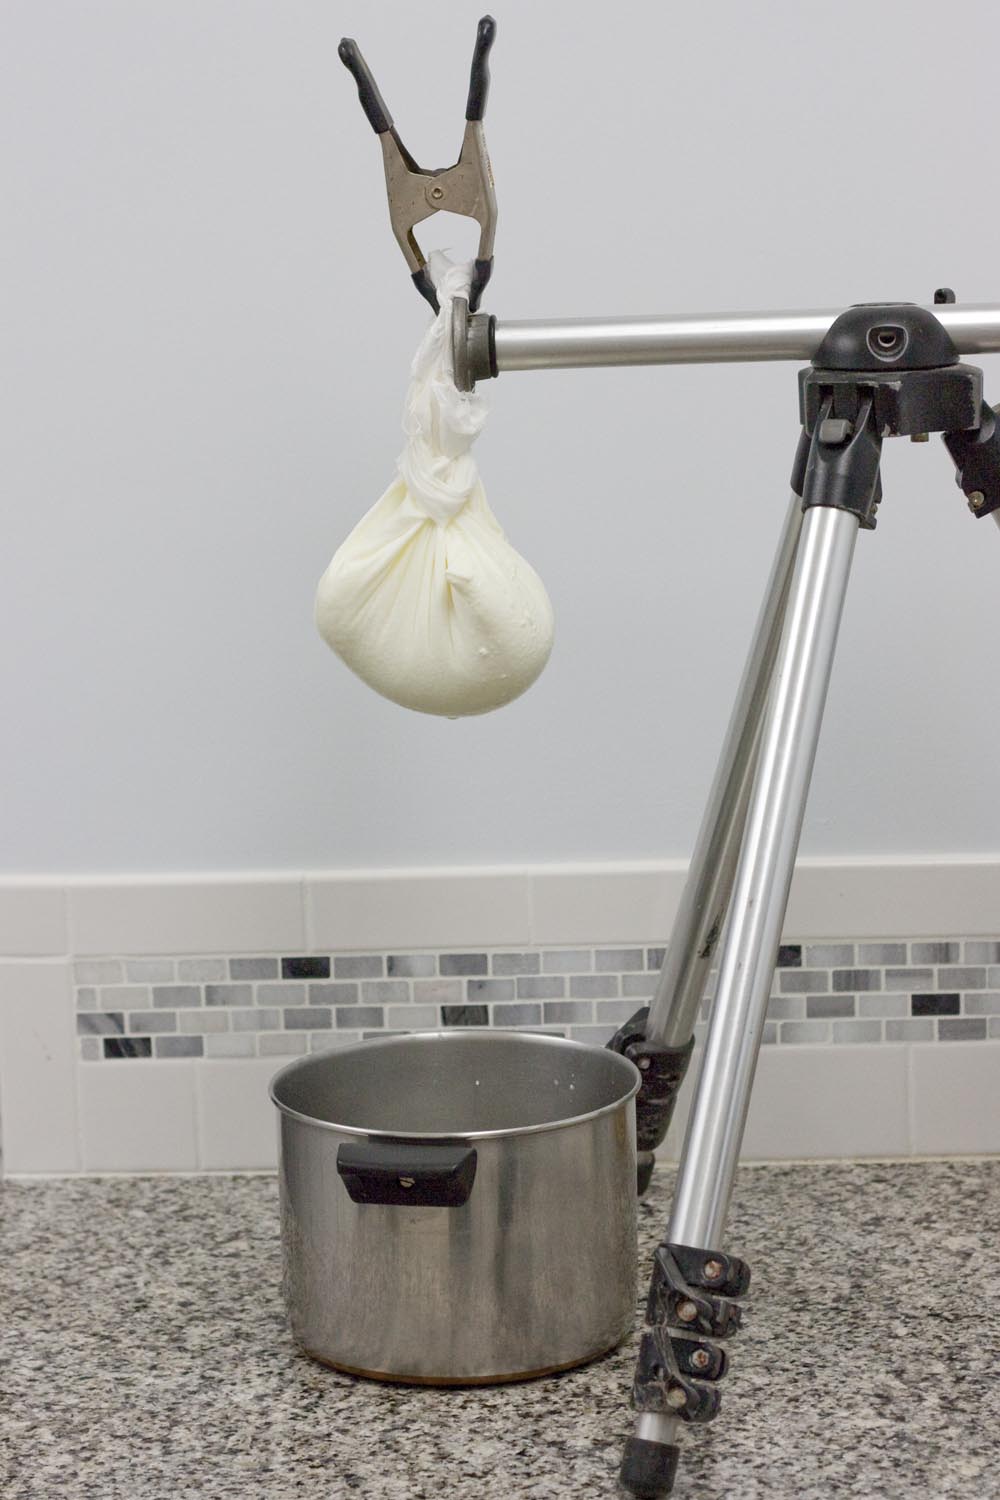
Curds draining in a cheesecloth bag.
After the curds have drained for 30 minutes, place the bag on a shallow baking pan and untie. Press the curds into a round disk about two inches thick. Fold the cheesecloth over the disk of curds with a few wrinkles as possible. Place a heavy skillet evenly on the cheese for 30 minutes to press.
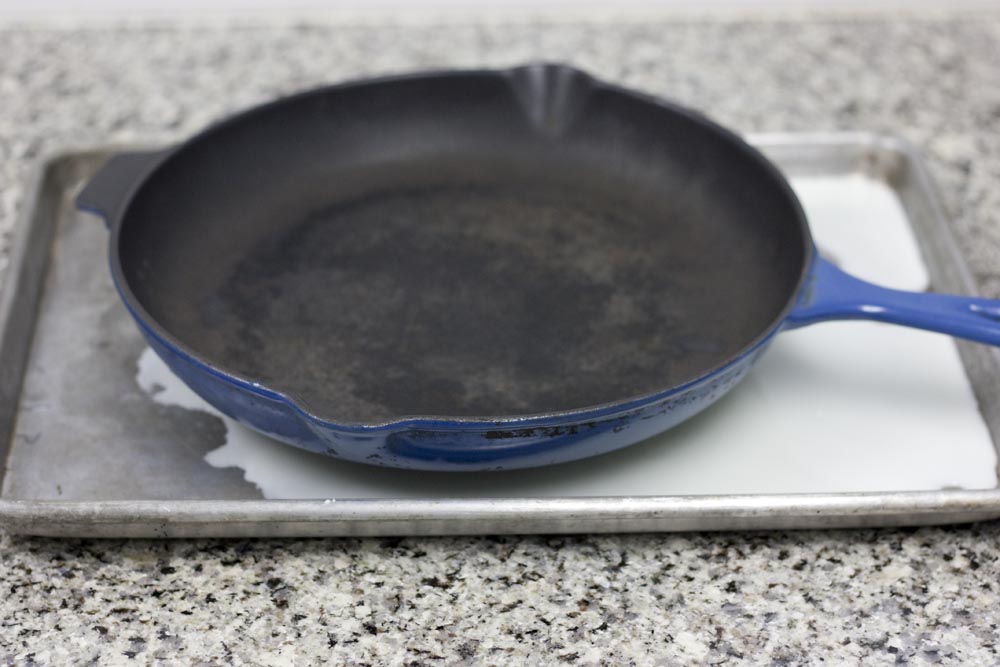
Using a heavy cast-iron skillet to press the paneer cheese after draining.
Remove the skillet and pour off the whey that pressed out of the paneer. Carefully unwrap the cheesecloth, flip the cheese and re-wrap with the cheesecloth. Return to the baking tray and replace the skillet to press for another 30 minutes.
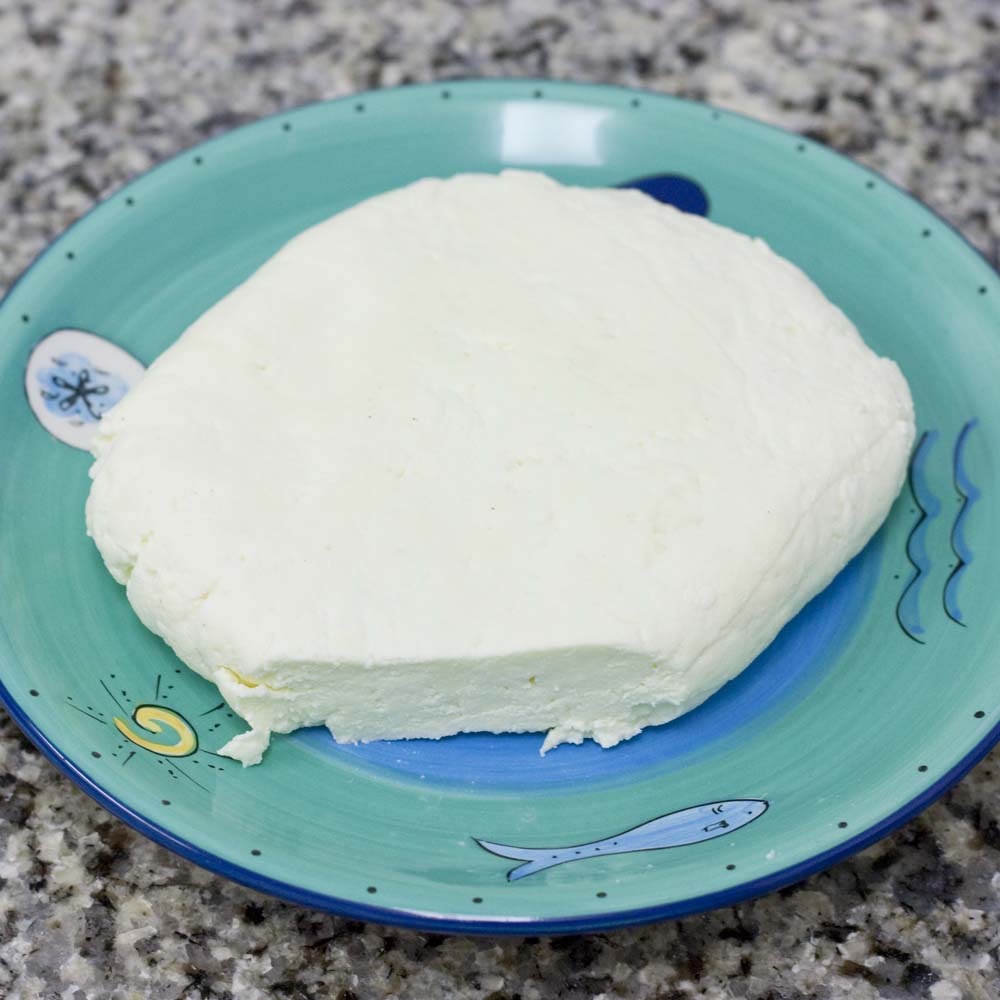
The Indian paneer cheese is done and ready to eat.Unwrap and remove the cheese from the cheesecloth. Store in the refrigerator in an airtight container or tightly wrapped in plastic wrap.